Love dessert but trying to keep it clean and healthy? Then you're going to love this easy and seriously delicious healthy spin on Key Lime Cheesecake! Tart, rich, and just enough sweet all combined in one perfect experience! And nothing is baked! I love a dessert that tastes absolutely amazing and is equally healthy for you. This makes for a really fun and refreshing summer dessert but my family loves it year round. It has easily become the family favorite and most of my kids now request it for their birthday dessert! You heard it here - healthy and the new fam fav! Win Win!!
Key Lime Cheesecake
Crust:
Ingredients
1 C raw almonds
1 C raw pecans
2 1/2 C pitted dates
2 pinches of sea salt
Instructions:
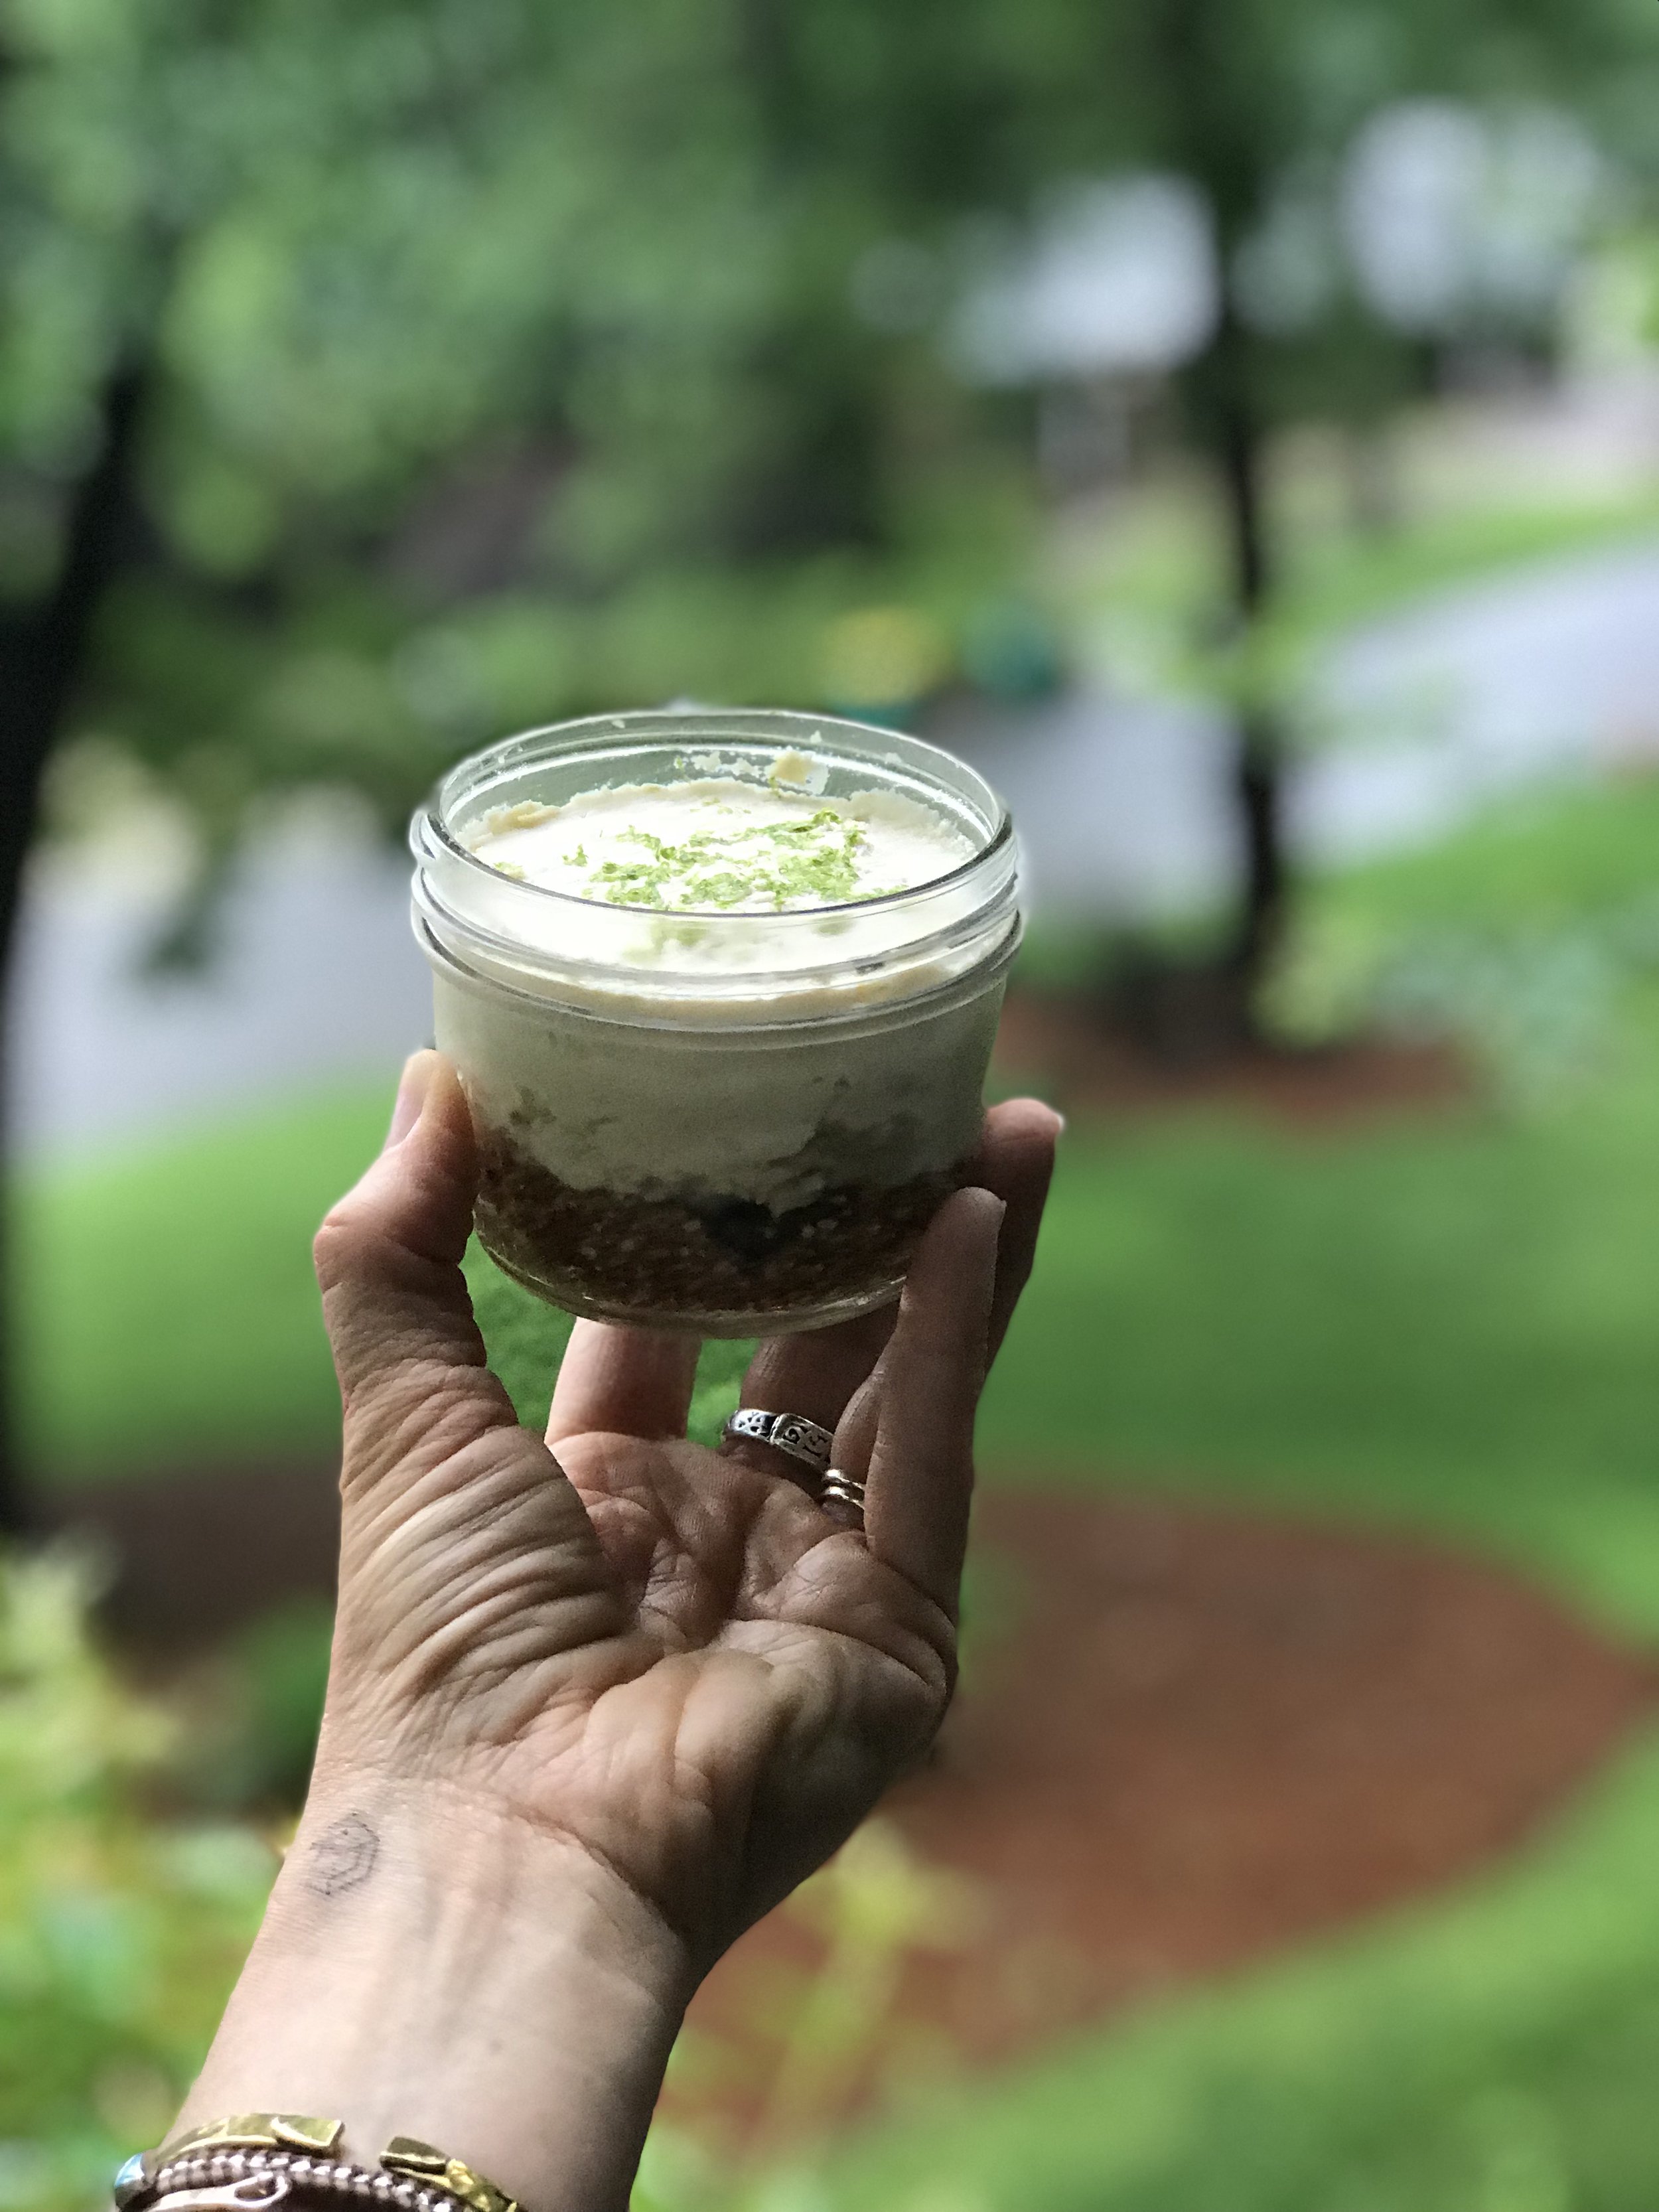
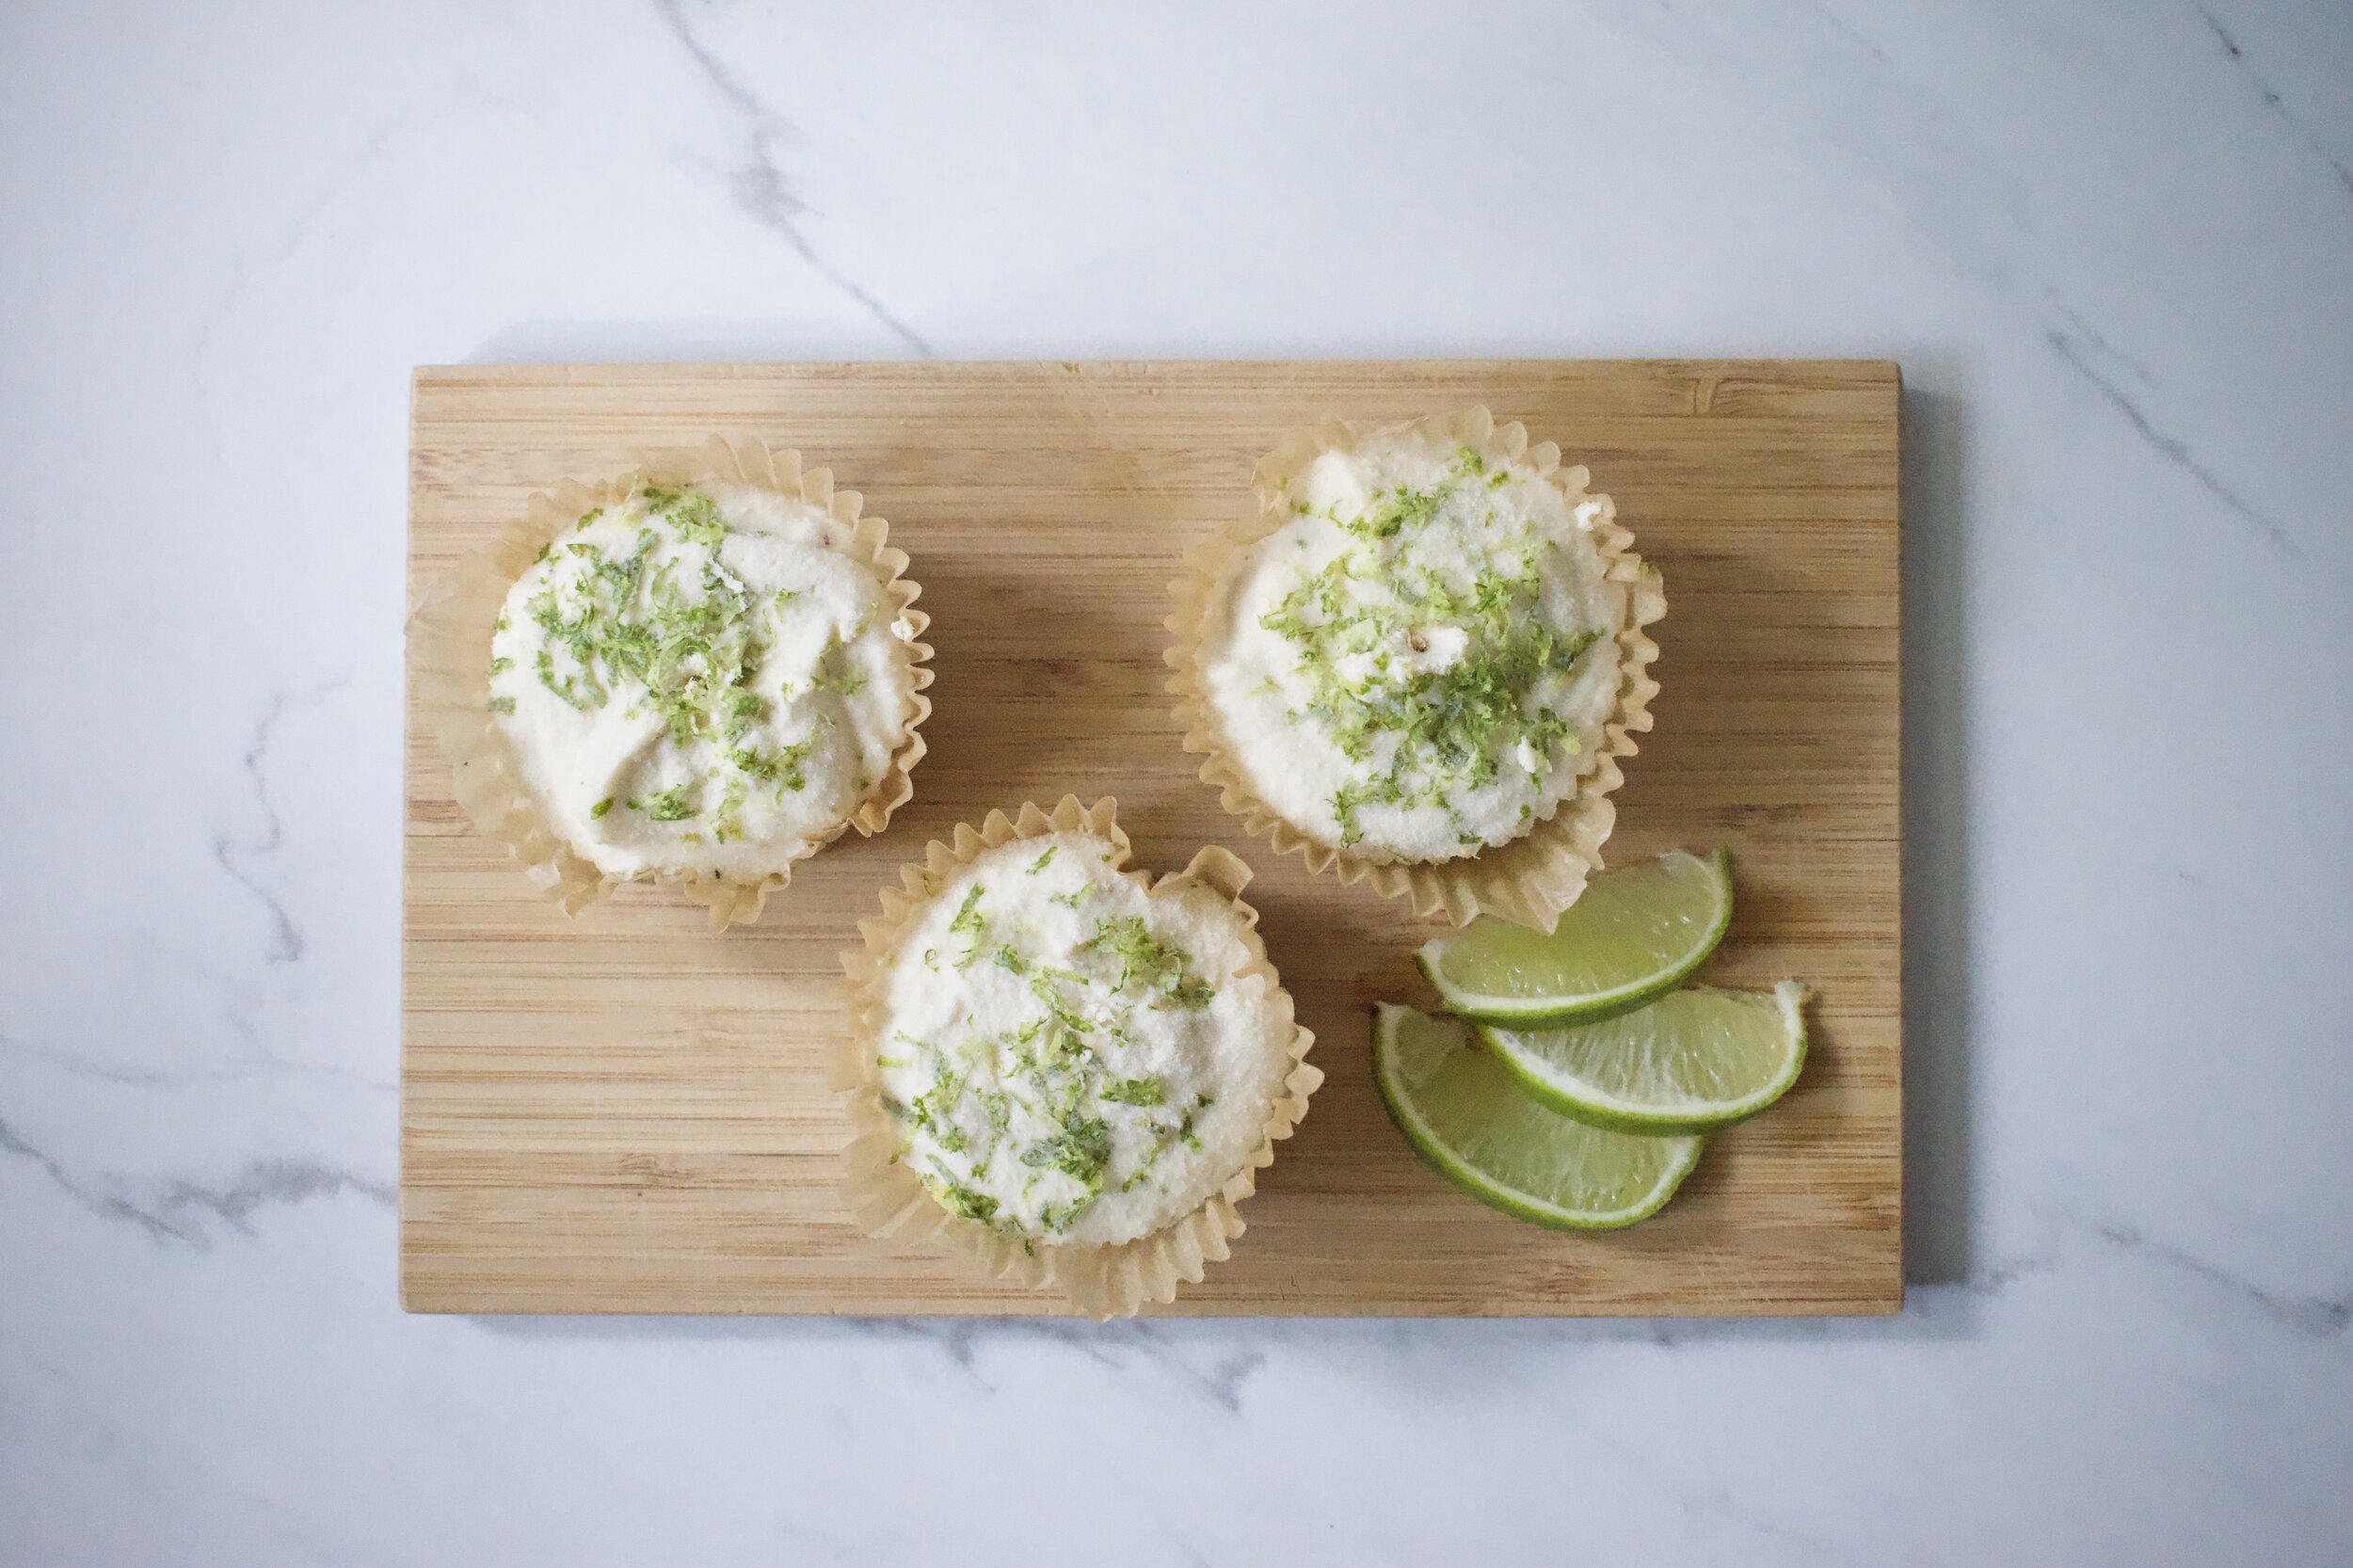
Blend in food processor until all ingredients start to hold together and nuts are well blended. Press into a parchment lined 11x7 glass baking dish or a parchment lined 9” spring form pan. You could also make individual desserts in mini mason jars or assemble in paper lined muffin cups. Set aside.
Cheesecake Filling:
Ingredients
5 C cashews soaked in water overnight, drained and rinsed
3/4-1 C maple syrup :: start with 3/4 add more if needed
1 1/2 C fresh squeezed lime juice :: key lime juice can also be used if desired
2 tsp vanilla
1/4 C lime zest
1 C coconut oil melted
1/2 C shredded coconut :: optional but recommended
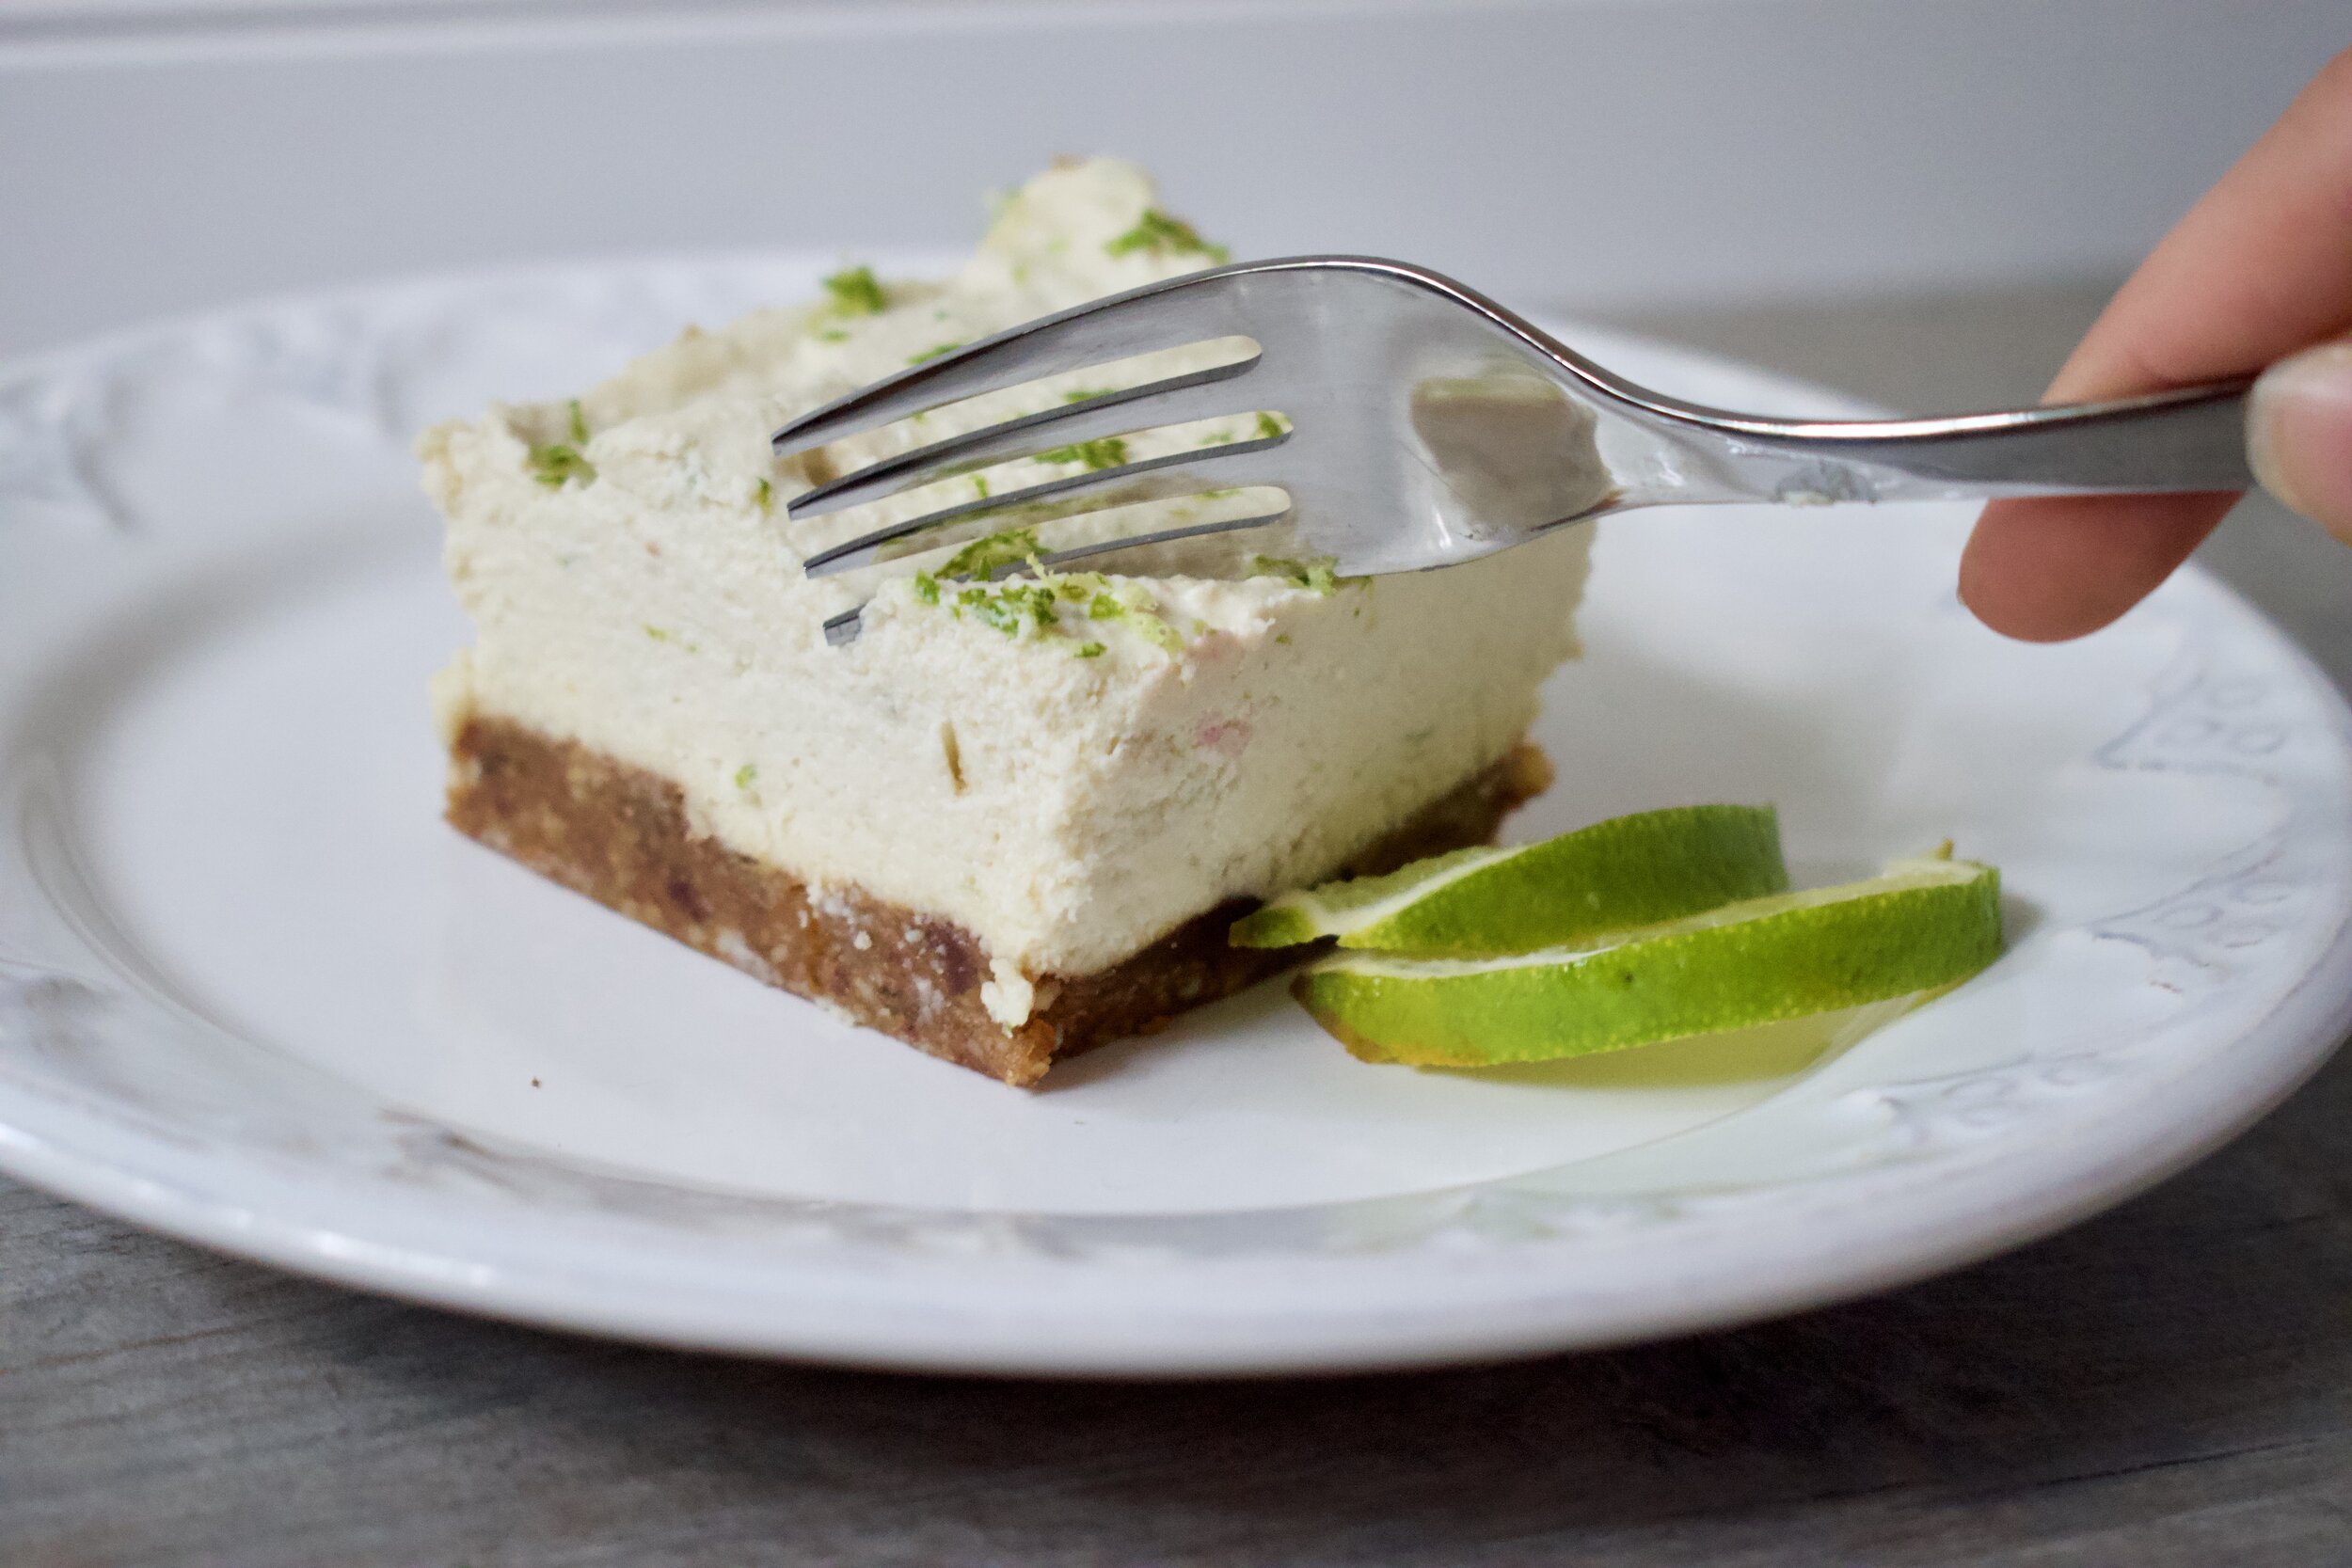
Zest for garnish
Instructions
Blend cashews in the food processor until creamy ~ scraping down the sides as needed. Add maple syrup, lime juice, vanilla and blend till combined. Slowly pour in coconut oil and blend. Add lime zest and shredded coconut (opt). Blend for just a bit til zest and coconut shreds are well mixed. Taste and adjust tartness or sweetness to your liking.
Pour the cheesecake mix over the crust, cover with saran wrap. Use a toothpick in the middle to keep the saran off the top of the cheesecake if needed! Place in the freezer for 30 mins then store in fridge. Allow the dessert to sit at room temp for a few minutes before you serve it up! Enjoy!
There are a lot of different options for how to assemble this dessert. My favorite ~ the 4 oz mason jars! Its the perfect size for a cute little dessert and easy to pack along for a lunch or picnic!